Stair-Step Flashing for Historic Roofs in DC
This past week we looked at some examples of shingle roof and Pitch roof flashings. One of the core principles here is that It is generally better to use individual pieces of step flashings coupled together in a pair with a stepped counter-flashing tucked into the adjacent mortar joints. The alternative, to use a continuous single-piece flashing anchored to both the wall and roof, has limitations. One of the big limitations is typical building movements. Even a strong and rigid masonry building has normal and natural movement. Some of those movements are relatively small and limited.
Thermal changes, for example, cause micro movements in the building throughout the daily life cycle. That repetitive cycle can go on for 100 years through the life of a slate roof, for example. As those movements happen, a continuous flashing may not be able to resist the repetitive forces especially when there is difference between the way elements move. A roof and a masonry wall are built very differently and therefore experience movement very differently.
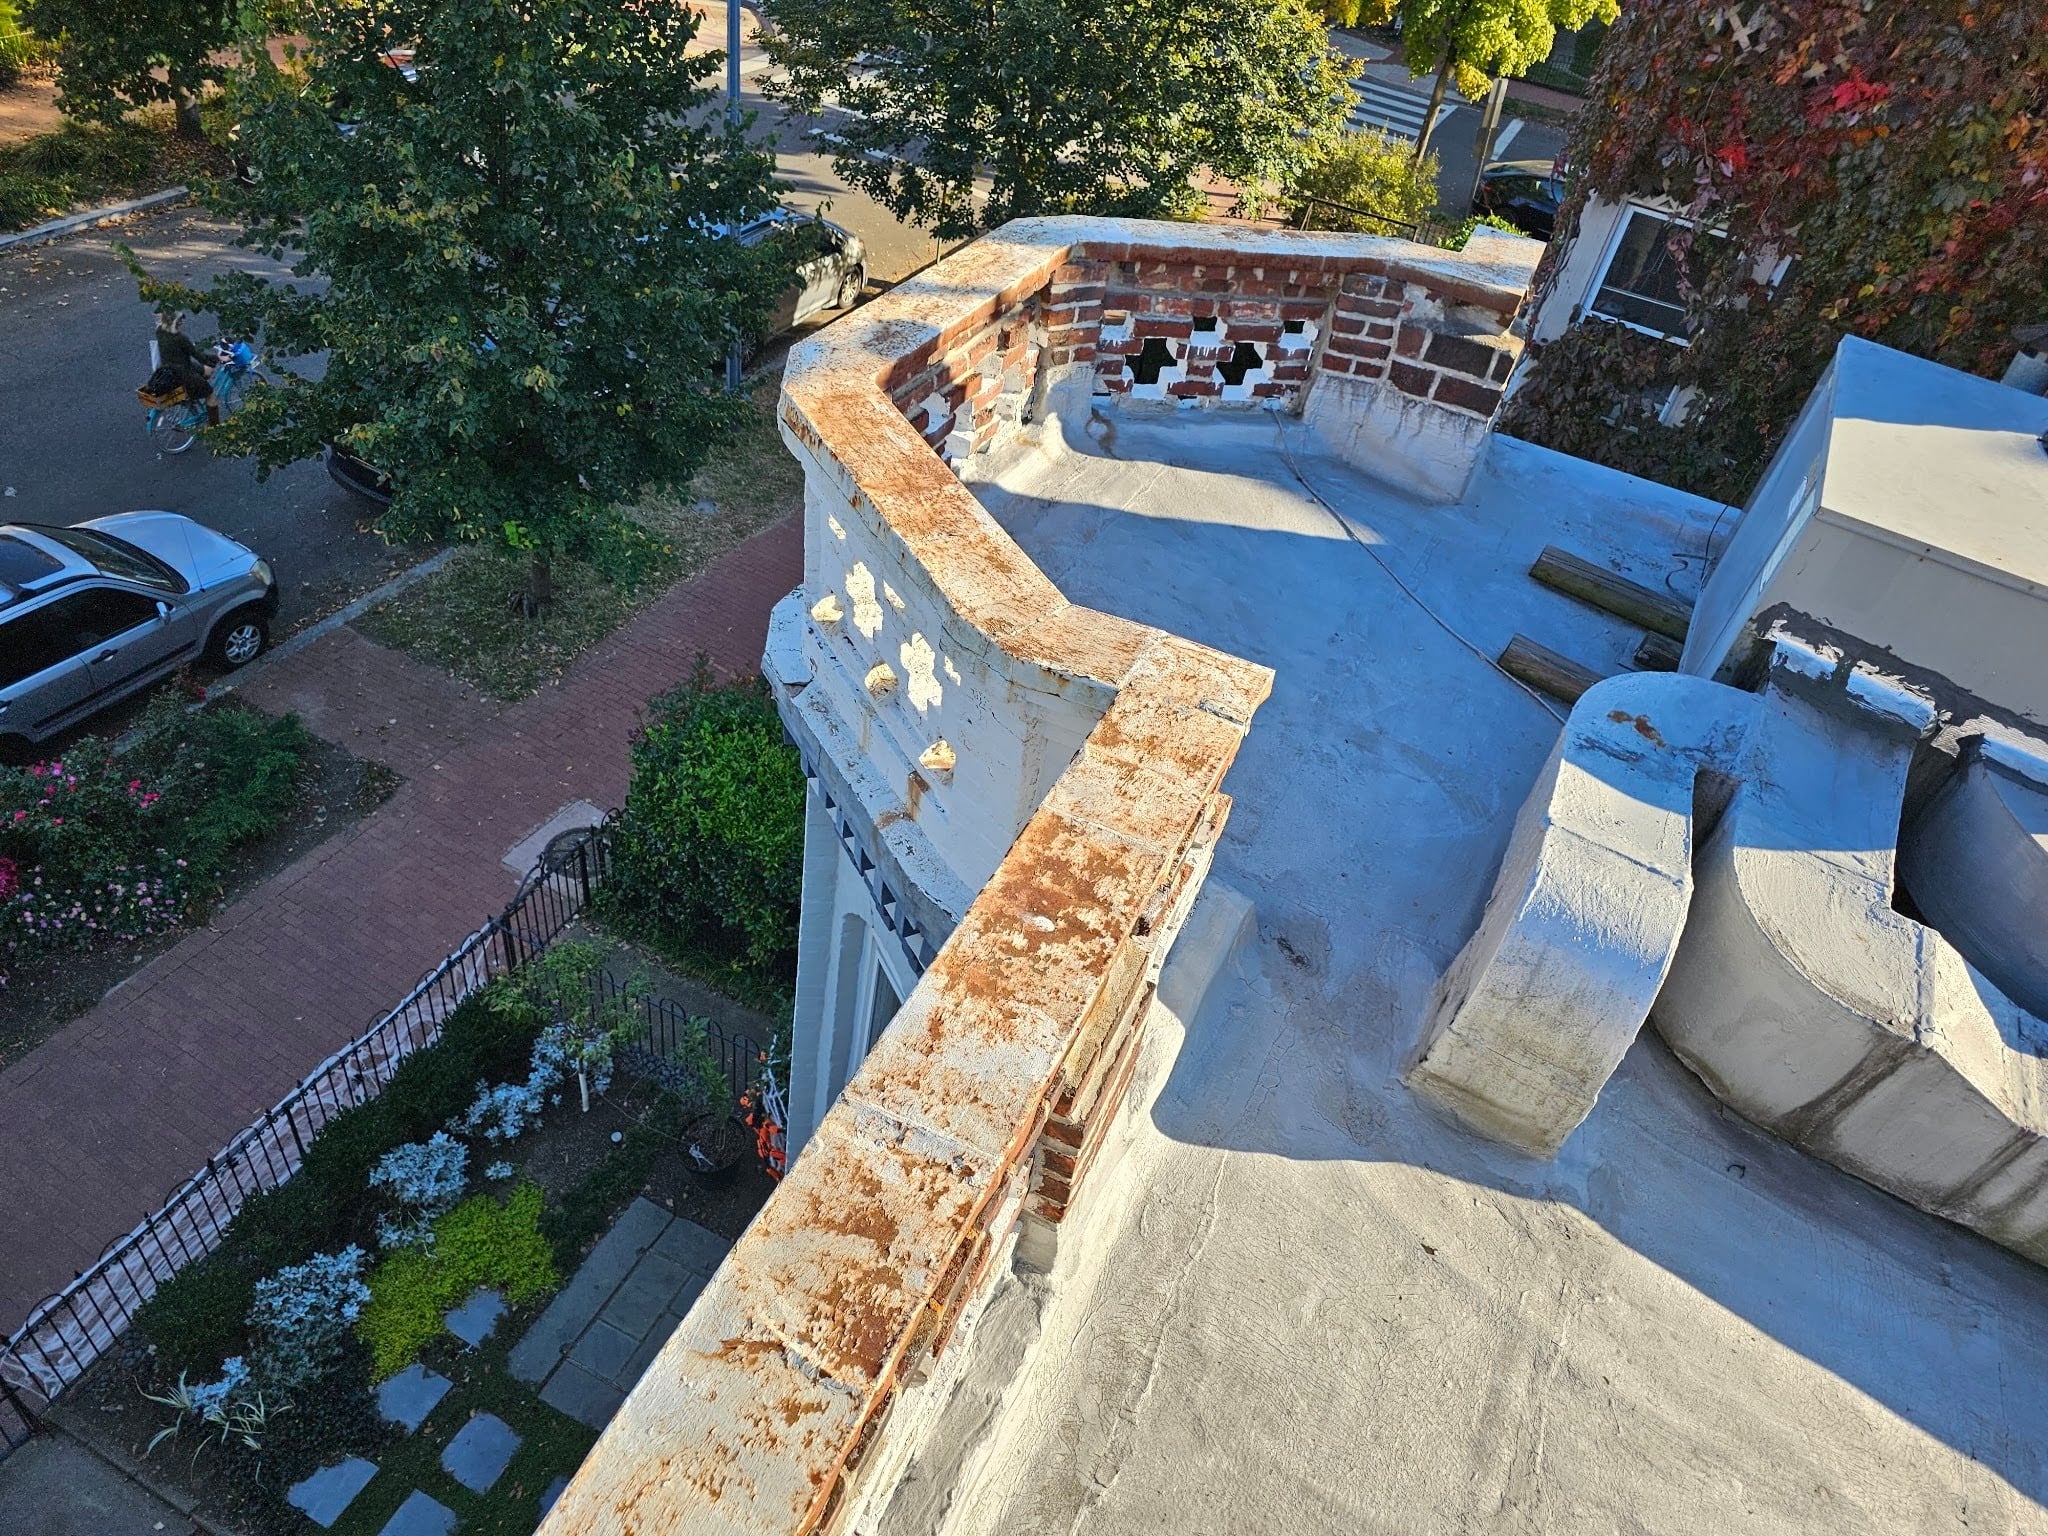
The picture below shows an example of a straight line flashing. Straight line type flashings, as we mentioned this past week, are not really acceptable in most types of pitched roof installations with individual courses of shingles when set into masonry. In those installations the individual course must have its own base flashing and counter flashing that sets into the wall.
When straight line flashings are installed, they are installed similar to the one shown in the picture below, though where instead of being sent at a horizontal mortar line that runs near perpendicular to the angle of the roof at this straight line type flashing. Straight line type flashing like this is acceptable with many low slope roof systems.
In fact, the angle of the roof really dictates the type of flashing, more than anything else. That’s one of the reasons that low slope roof systems are generally terminated at the sides with continuous straight line flashing. Straight line type flashings are built in longer runs that run slightly away from the angle of the roof as the roof slopes downward.
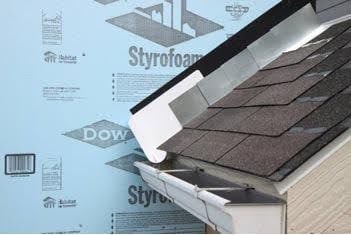
The diagram below shows how the building elements, together. In this case, when you look back to the picture above, you can see there is a board of polystyrene insulation that runs on top of the wall framing. Essentially, the flashing runs under an edge of that insulation board. From there the base flashing seats underneath the siding. Siding boards like this are very different from the historic masonry that’s so common here in Washington DC.
Once in a while though, there are even contemporary type roof interfaces like the one shown here, here in Washington DC. Even though most of the city is historic, there are many examples of rear additions that significantly deviate in the type of construction. Although the front facades may maintain historic elements, rear building additions or modifications may be significantly modernized and contemporary.
It’s almost easier to build to modern standards, but the problem is not all contractors know how to go back and forth between the modern to the historic types of construction. We generally focus on talking to our clients and audience more about the historic methodologies. Because there’s a major disconnect in the academic parts of the construction industry, a lot of the historic elements seem to be a lost art to people outside of historic specialists like ourselves.
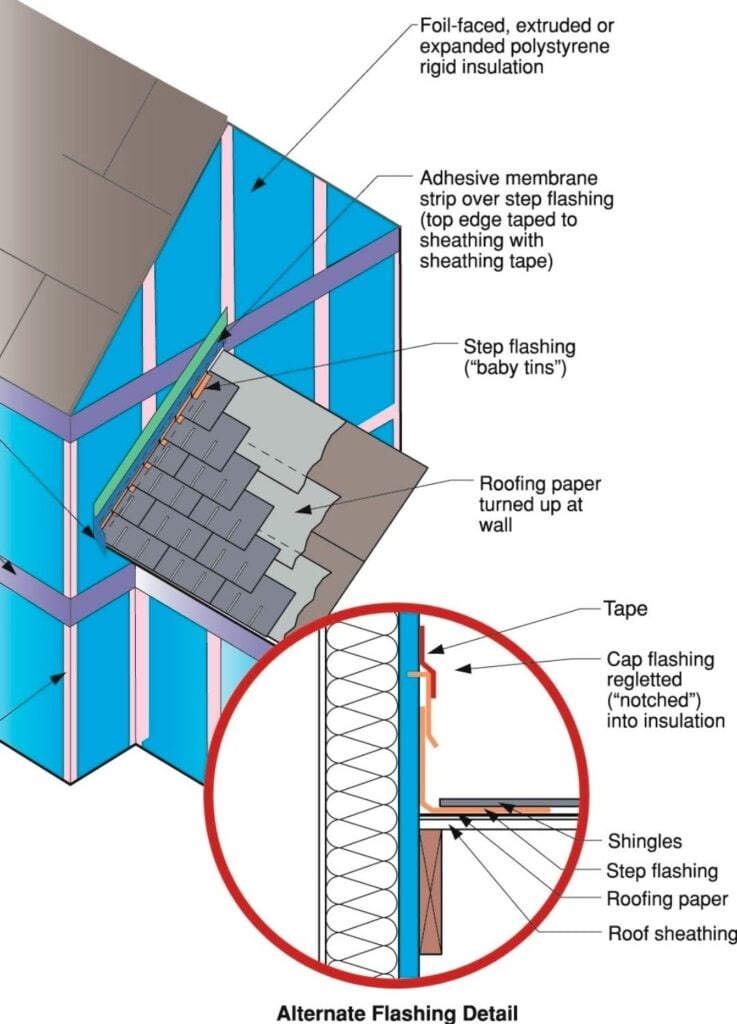
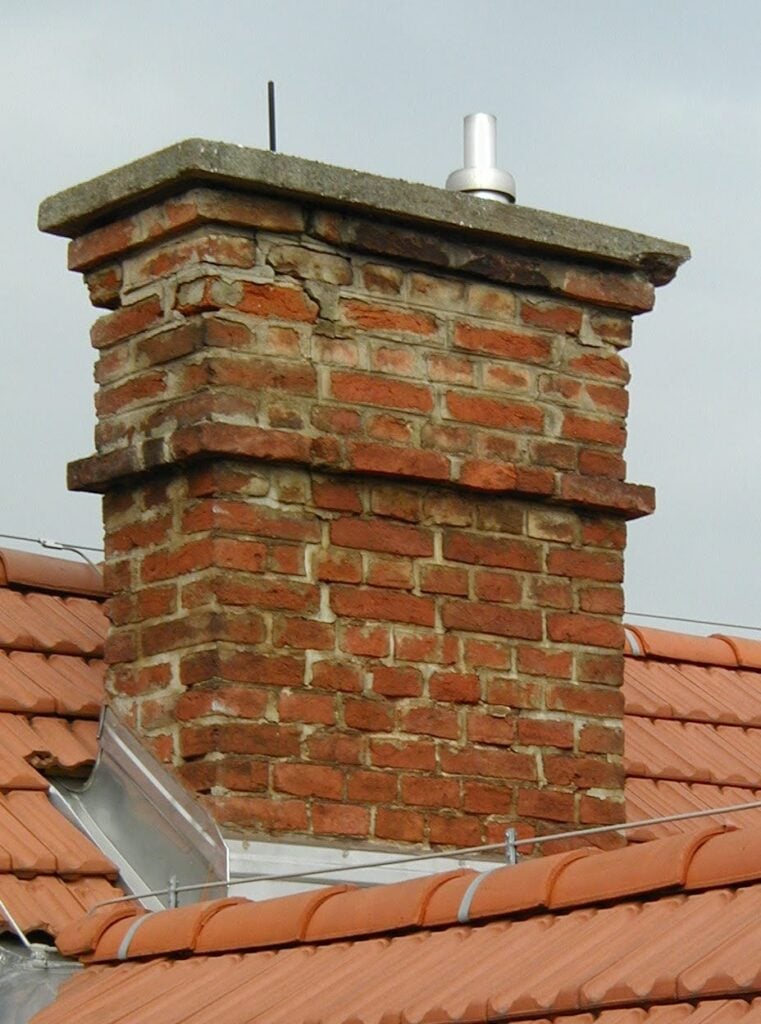
When you look at the picture below, it’s almost like a trick question because it looks like it’s been done wrong. The flashing and counter flashing here run at a continuous angle instead of having the stair step pattern that follows the individual courses of shingles, seated into the individual mortar joints. This is actually different though than what it appears to be on the surface. Here they have a flashing against a masonry chimney with a counterflashing or termination bar.
Termination bars are more commonly used on low slope roofs, particularly here in Washington DC. In fact, we recommend the use of termination bars in many applications where chimneys meet against low slope single-ply roofing. The termination bar essentially anchors the membrane, at its edge, to a masonry substrate. It also creates a seat or channel, in most configurations, where a high strength sealant can be applied to create an additional line of defense from moisture.
We generally recommend against the use of gun applied sealants as a primary defense from moisture. In most cases sealants, even including most high strength polymers or elastomeric sealants will break down and decompose faster than the roof membrane system itself.
We provide this information here on our blog, and our website, to help our customers and future clients, and we recommend every building owner in DC who values the longevity of their roof (and their investments) and building use a contractor who values the simple and important principles of proper roof construction like Dupont Roofing DC. Our company specializes in flat roofing here in Washington DC and we’re happy to help building owners of almost all types.
Learn more about our company and the proper techniques of working with roofing on historic buildings in Washington DC here on our blog at DupontRoofingDC.com, and you can call us at (202) 840-8698 and email us at dupontroofingdc@gmail.com. We are happy to help and at least talk through options.